The holiday season always makes me feel crafty, and I love the smell that fresh greenery brings to my house… the smell of cedar puts me right in the Christmas spirit! Buying a wreath from a florist or grocery store is an easy option to decorate your house for the holidays, but they often cost quite a bit! Even if you don’t think you’re crafty, you can make this wreath – its super easy! Making your own Christmas wreath will save you money, and it’s a super fun activity to do with friends/neighbors/kids. It’s not as hard as you would think, and I have written down all the steps (and included a You Tube video) so you can easily replicate what I made! You don’t have to use the exact supplies I used, you have total and complete control over your craft!

Step 1 – Get Ready!
You’ll need:
- Wreath frame (we used a 16” size, but you can use a 12″ or 14″) – Hobby Lobby/Michael/Amazon are a good source for wreaths. Here is an example of what I mean by wreath frame.
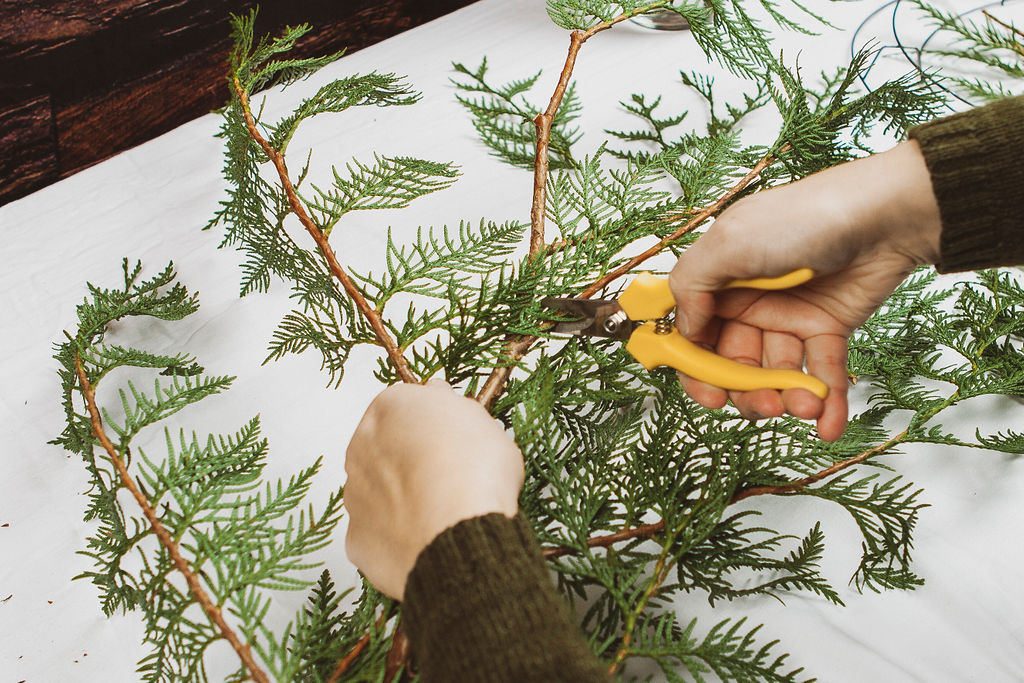
- Pruners. The greenery is quite sturdy and hard to cut with just regular scissors, so you’ll need pruners to get the job done. Home hardware stores sell these, or you might even have them in your garage collecting dust!
- Wire (we used 24 gauge). I’ve also used bind wire in the past, but I find that wire is the easiest to work with and holds the greenery on firmly. Lots of places sell this, or check out amazon.
- Florals/Greenery (We used ilex, eucalyptus, cedar, pine, and fir), but you can use any greenery you like! Wreaths also look really pretty with boxwood!
- Pinecones (optional). You can choose to go simplistic with your wreath, but I like to add in some additional embellishments. You could also add in things like dried orange slices or cinnamon sticks.
- Ribbon (optional)
Step 2 – Cut Greenery
I like to make my wreaths outside or in the garage, because it makes a bit of a mess, but if you don’t have that option, lay out an old blanket/towel to keep your workspace clean and make clean-up easier.
Using your pruners, cut the greenery into smaller pieces, you’ll want them to be between 6” and 10”
each. It’s not exact science, so you don’t have to pull out your ruler – however, if the pieces are too large, you end up with a floppy looking wreath.
Step 3: Organize Yourself
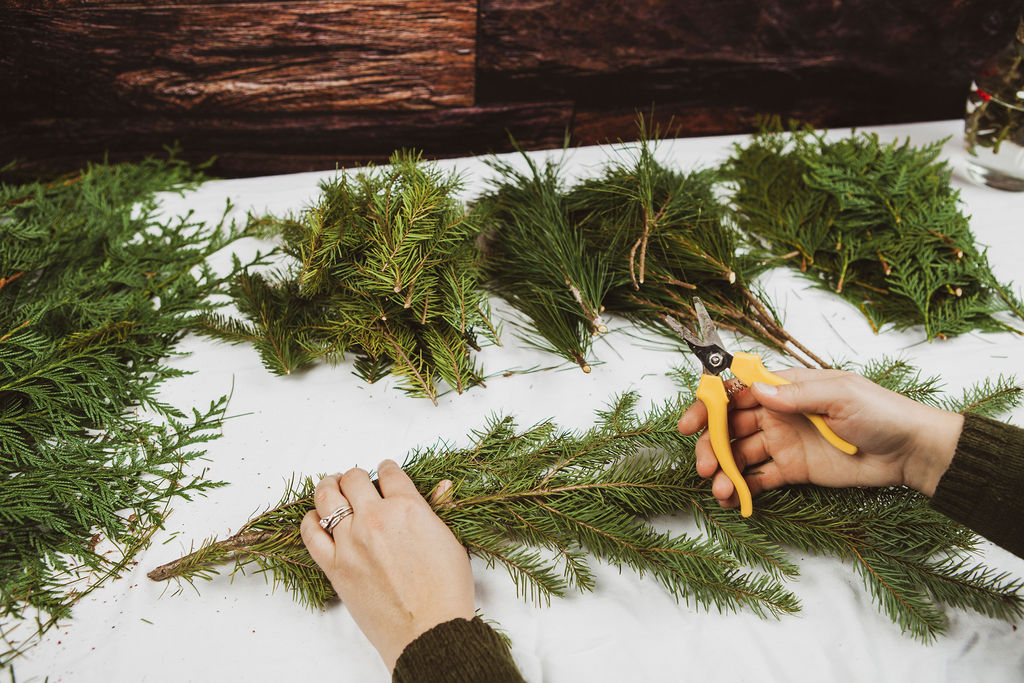
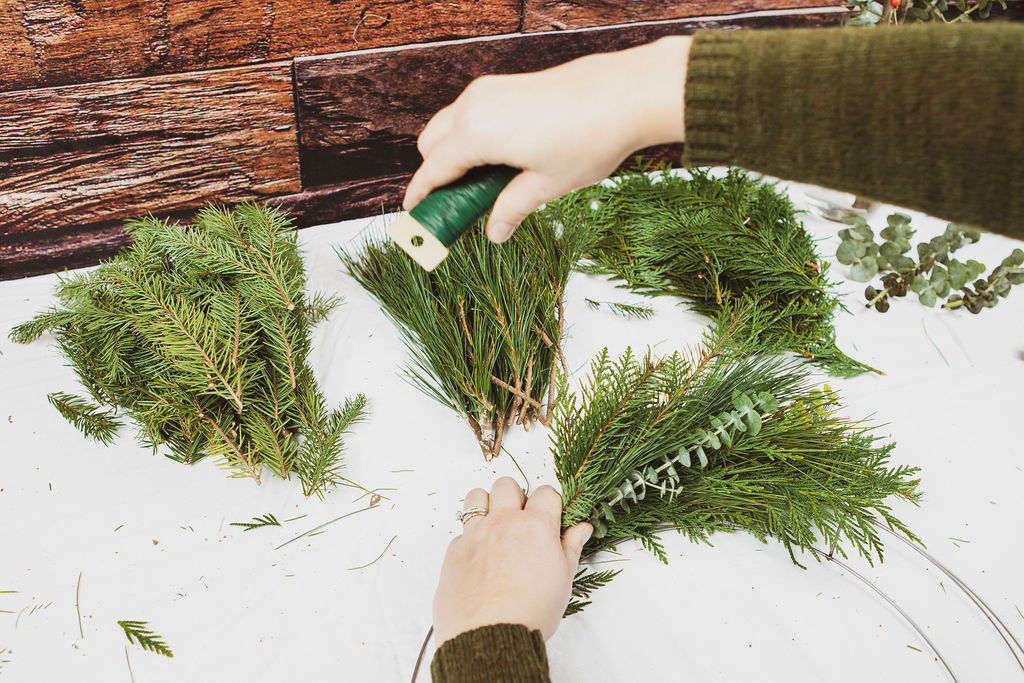
It’s much easier to work when you have everything sorted. You’ll need quite a bit of greenery, more
than you might think! I like to put everything in neat piles, sorted by the greenery type.
Step 4: Create a Bundle
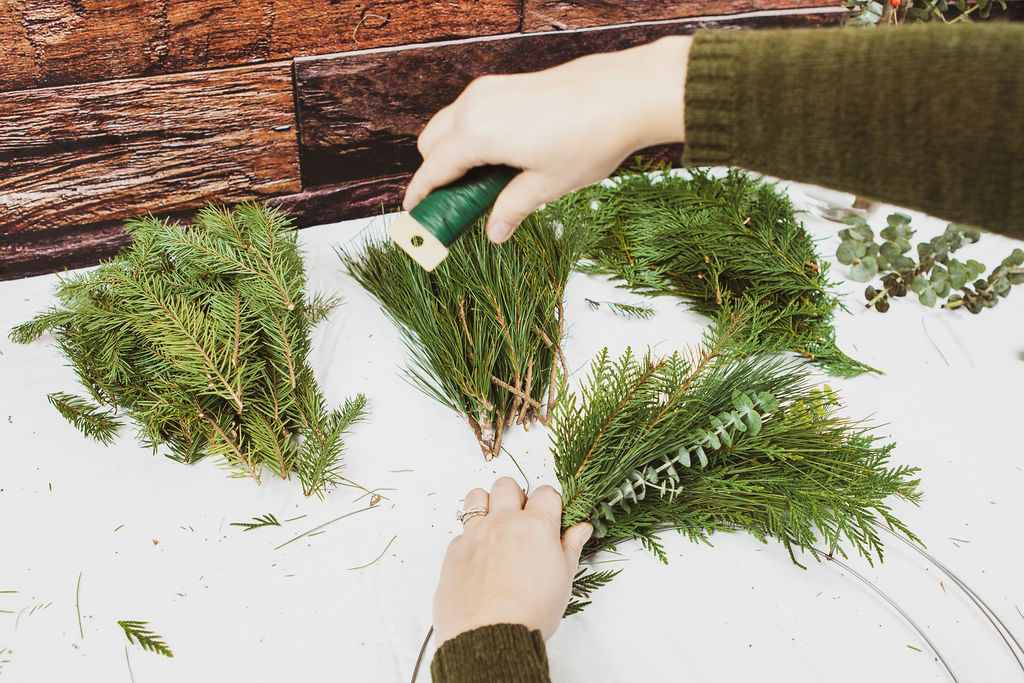
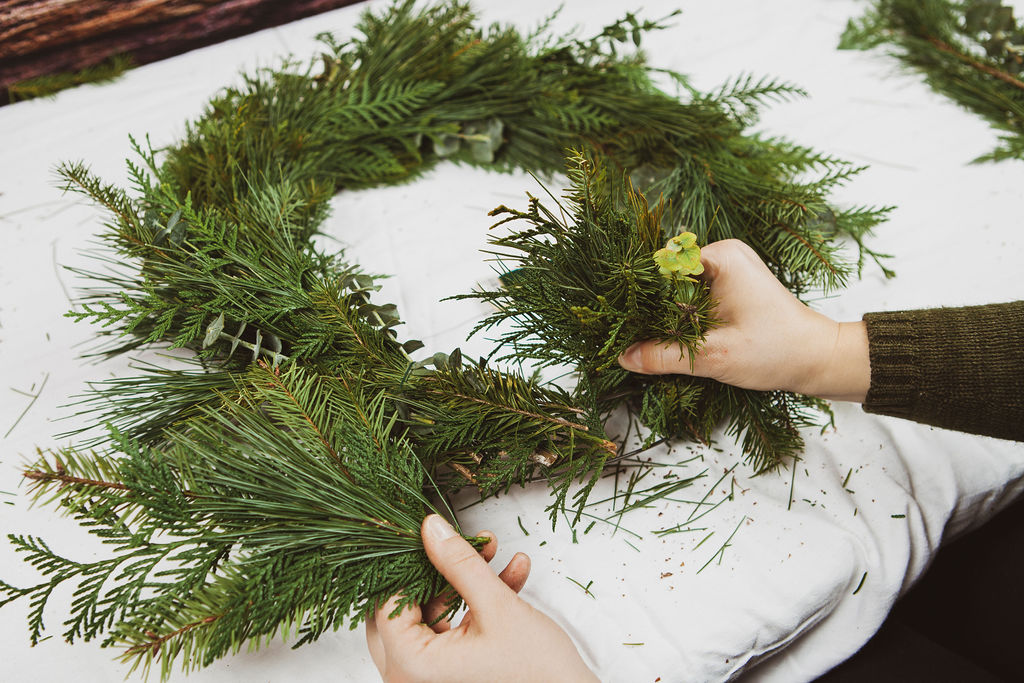
Create bundles of greenery, all similar size and composition. Each bundle will need about 6 pieces
of greenery. Layering a couple different types adds texture to the wreath.
Step 5: Start Attaching
We’re going to work with one piece of continuous wire throughout the entire wreath, we won’t cut it.
Before you start attaching, you’ll want to tie or knot the wire to the wreath frame (I do on the backside). Once that’s firmly attached, lay the bunch on top of the frame (flat side goes against your door), and wrap the wire around 3-4 times. You’ll want to make sure the wire is firmly pulled, so it keeps all the greenery in place.
Step 6: Layer on Subsequent Bundles
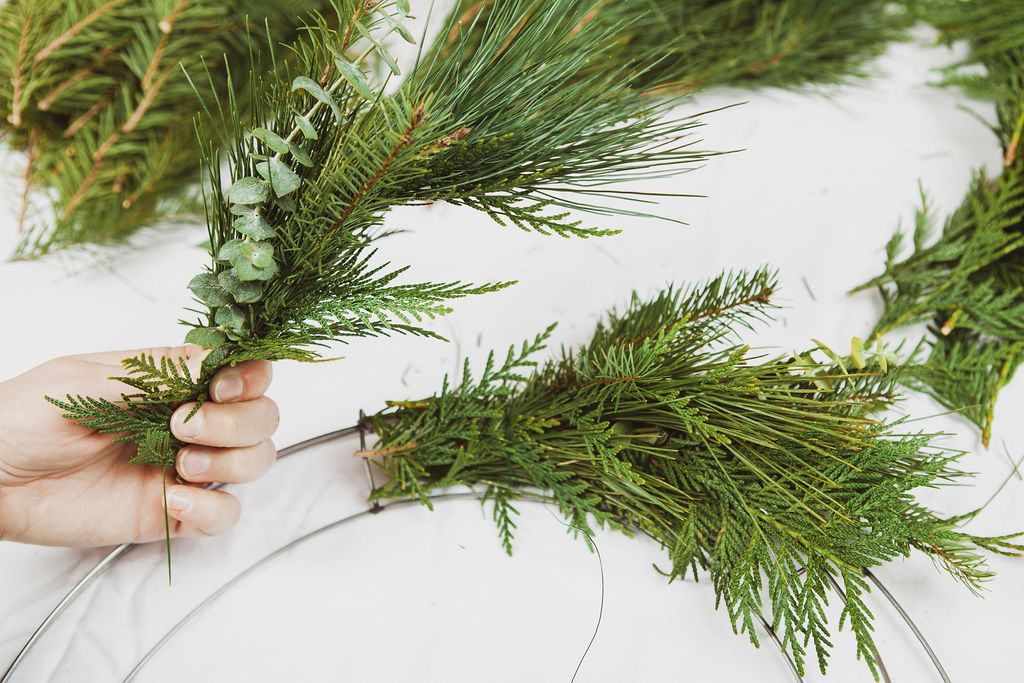
Add on the next bundle, slightly overlapping the first. You’ll use the second bundle to cover the “tail” of your first bundle. Using the wire, wrap it around this bundle, again wrapping 3- 4 times. Keep tension on the wire, this is going to keep your wreath all staying together!
Step 7: Keep Going
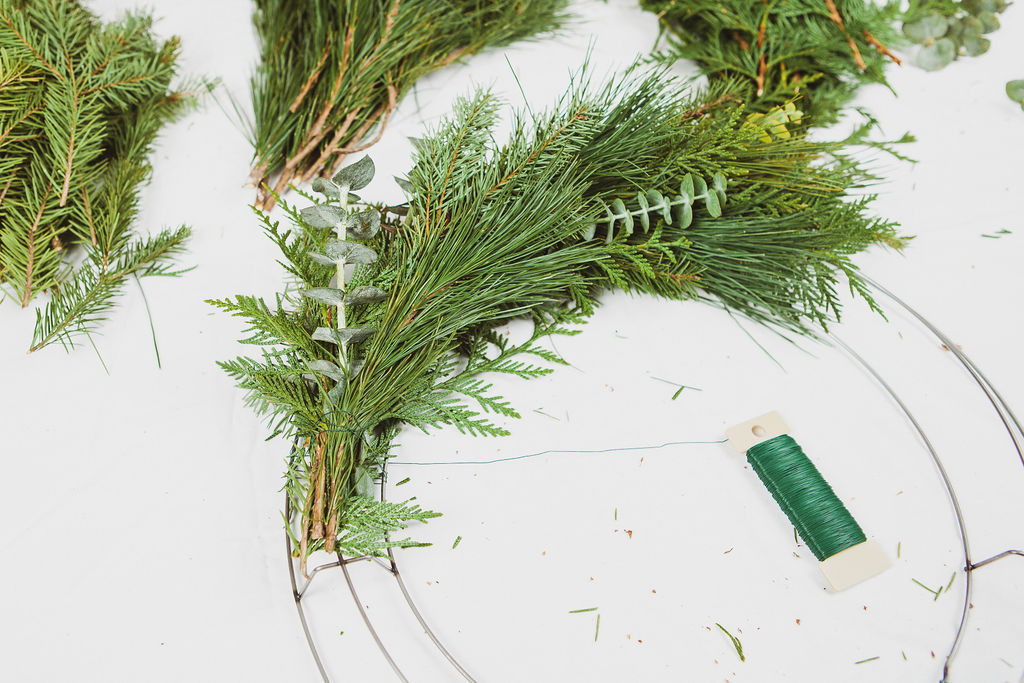
Using the same method, keep layering bundles over-top each other, wiring them onto the frame.
Step 8: Finish Up
When you get to the end, you’ll want to hide the stems from the last greenery bundle. To do this, lift your first bundle, slide the last bundle under, and wire into place. Since this is your last bundle, make sure it’s wired on well.

Step 9: Tie off
Now that your last bundle is on, its time to cut the wire and attach it to the wreath frame. Make sure you affix this securely.

Step 10: Add in Extras
If you have any extras you’d like to add in, now is the time. These don’t need to be wired in, you’ll just nestle them into the wreath.

Step 11: Affix Pinecones
If you want pinecones, you’ll affix these by taking a 12” long piece of wire and wrapping it around the bottom of the pinecone. A ‘tail’ will be left over, which you’ll then wrap around the wreath, and tie in the back.

Step 12: Admire Your Work!
You’re done now! Nice work! These wreaths are a work of art, so everyone’s will look different. We suggest spraying the wreath every couple days with water, to keep it long lasting. Once the season is over, you can take it apart (just turn it over, cut the lines of wire, and take off the greens), compost the greens, and keep the frame for next year.
Hopefully this tutorial gives you the confidence to make your own wreath, if you’re a visual person, I also walk through the steps to make a wreath on my You Tube channel (see link below). Making the wreath takes about 30 – 45 minutes to do, so it’s not a huge time commitment and honestly, it’s SO FUN to do!
Many thanks to Alicia Hoogveld Photo for the tutorial photos!


